Use with Claude Desktop
Claude Desktop supports third-party providers. Once connected through yylx.io, Claude Desktop uses the API Key you created in the console and reaches model services through the yylx.io gateway.
[!INFO] This page covers Claude Desktop's third-party Provider / Gateway setup. For Claude Code's environment-variable setup, see Use with Claude Code.
Before you start
Have the following ready:
| Item | Details |
|---|---|
| Claude Desktop | Installed and opened at least once |
| API Key | Created in the yylx.io console; naming it claude-desktop is recommended |
| Gateway base URL | https://app.yylx.io |
If the console's "Use Key" dialog shows a dedicated Claude/Anthropic address, prefer the address shown in the console.
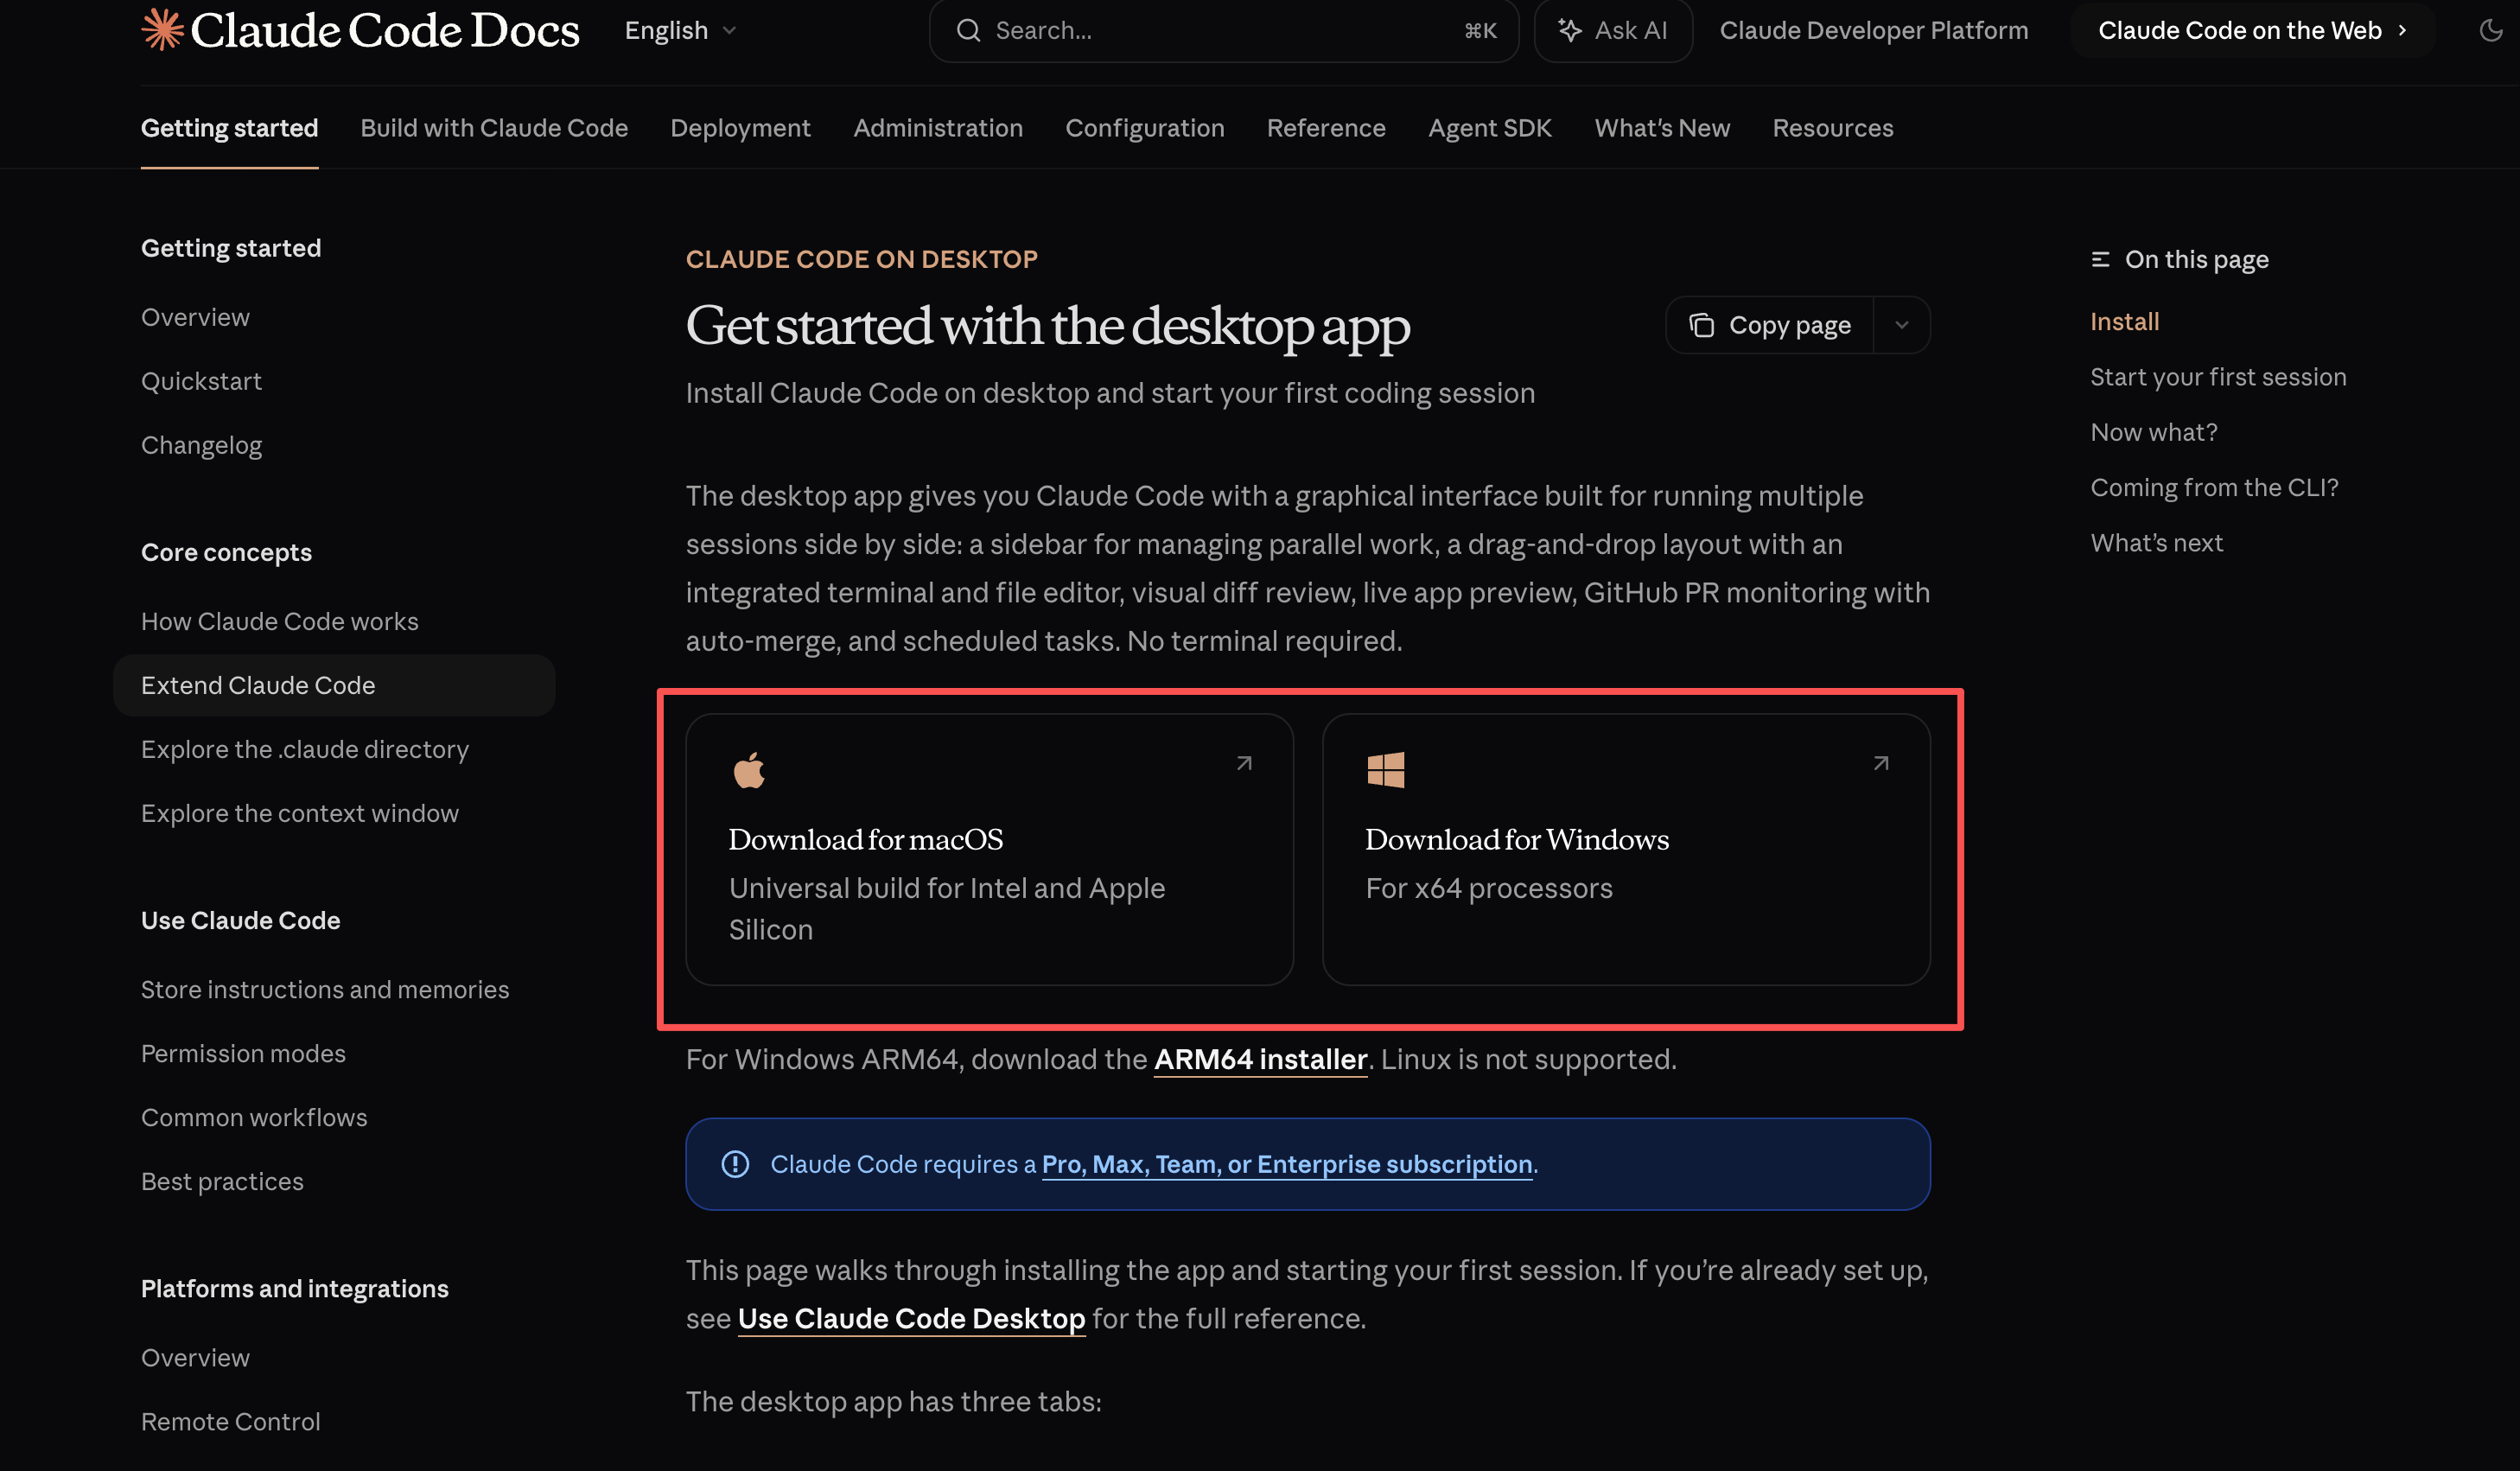
Download Claude Desktop
If you haven't installed Claude Desktop yet, download it from the official docs:
macOS setup
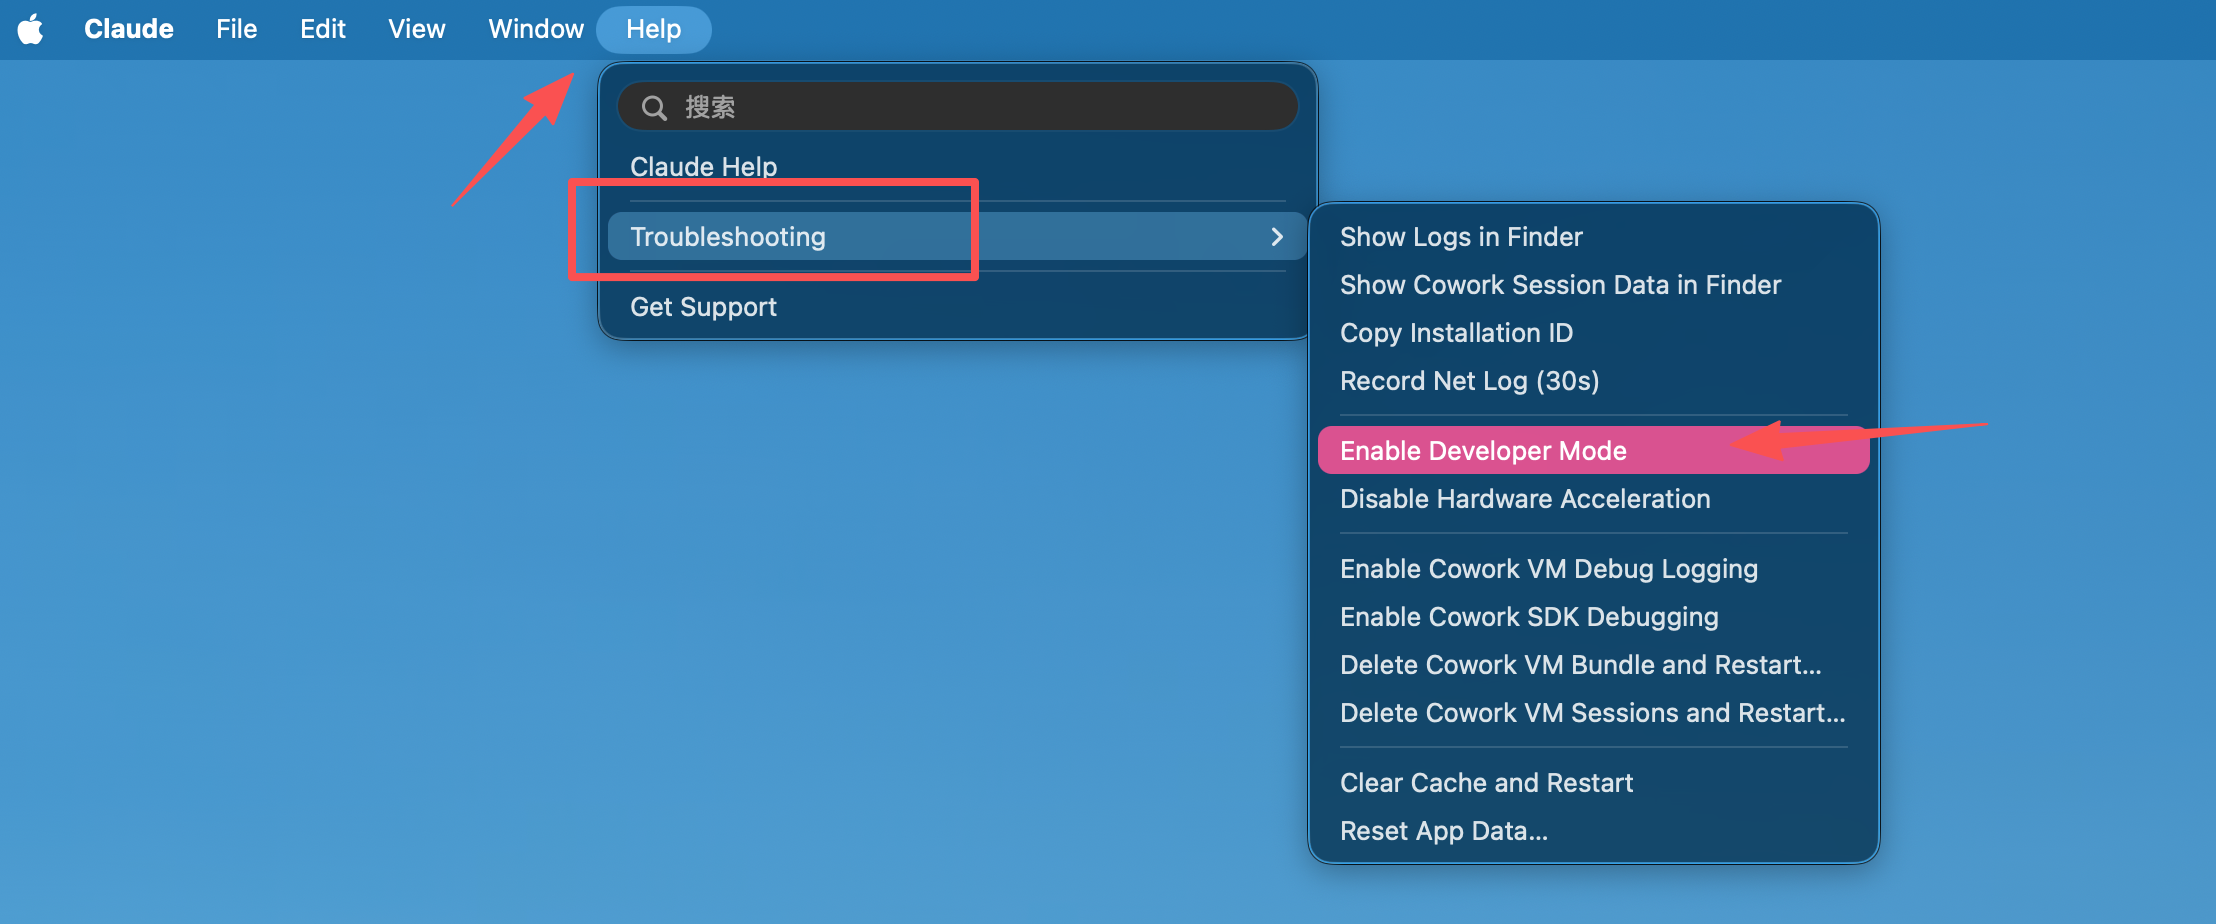
Enable Developer Mode
- Open the Claude Desktop client.
Click Help in the top menu bar, then choose Troubleshooting → Enable Developer Mode.
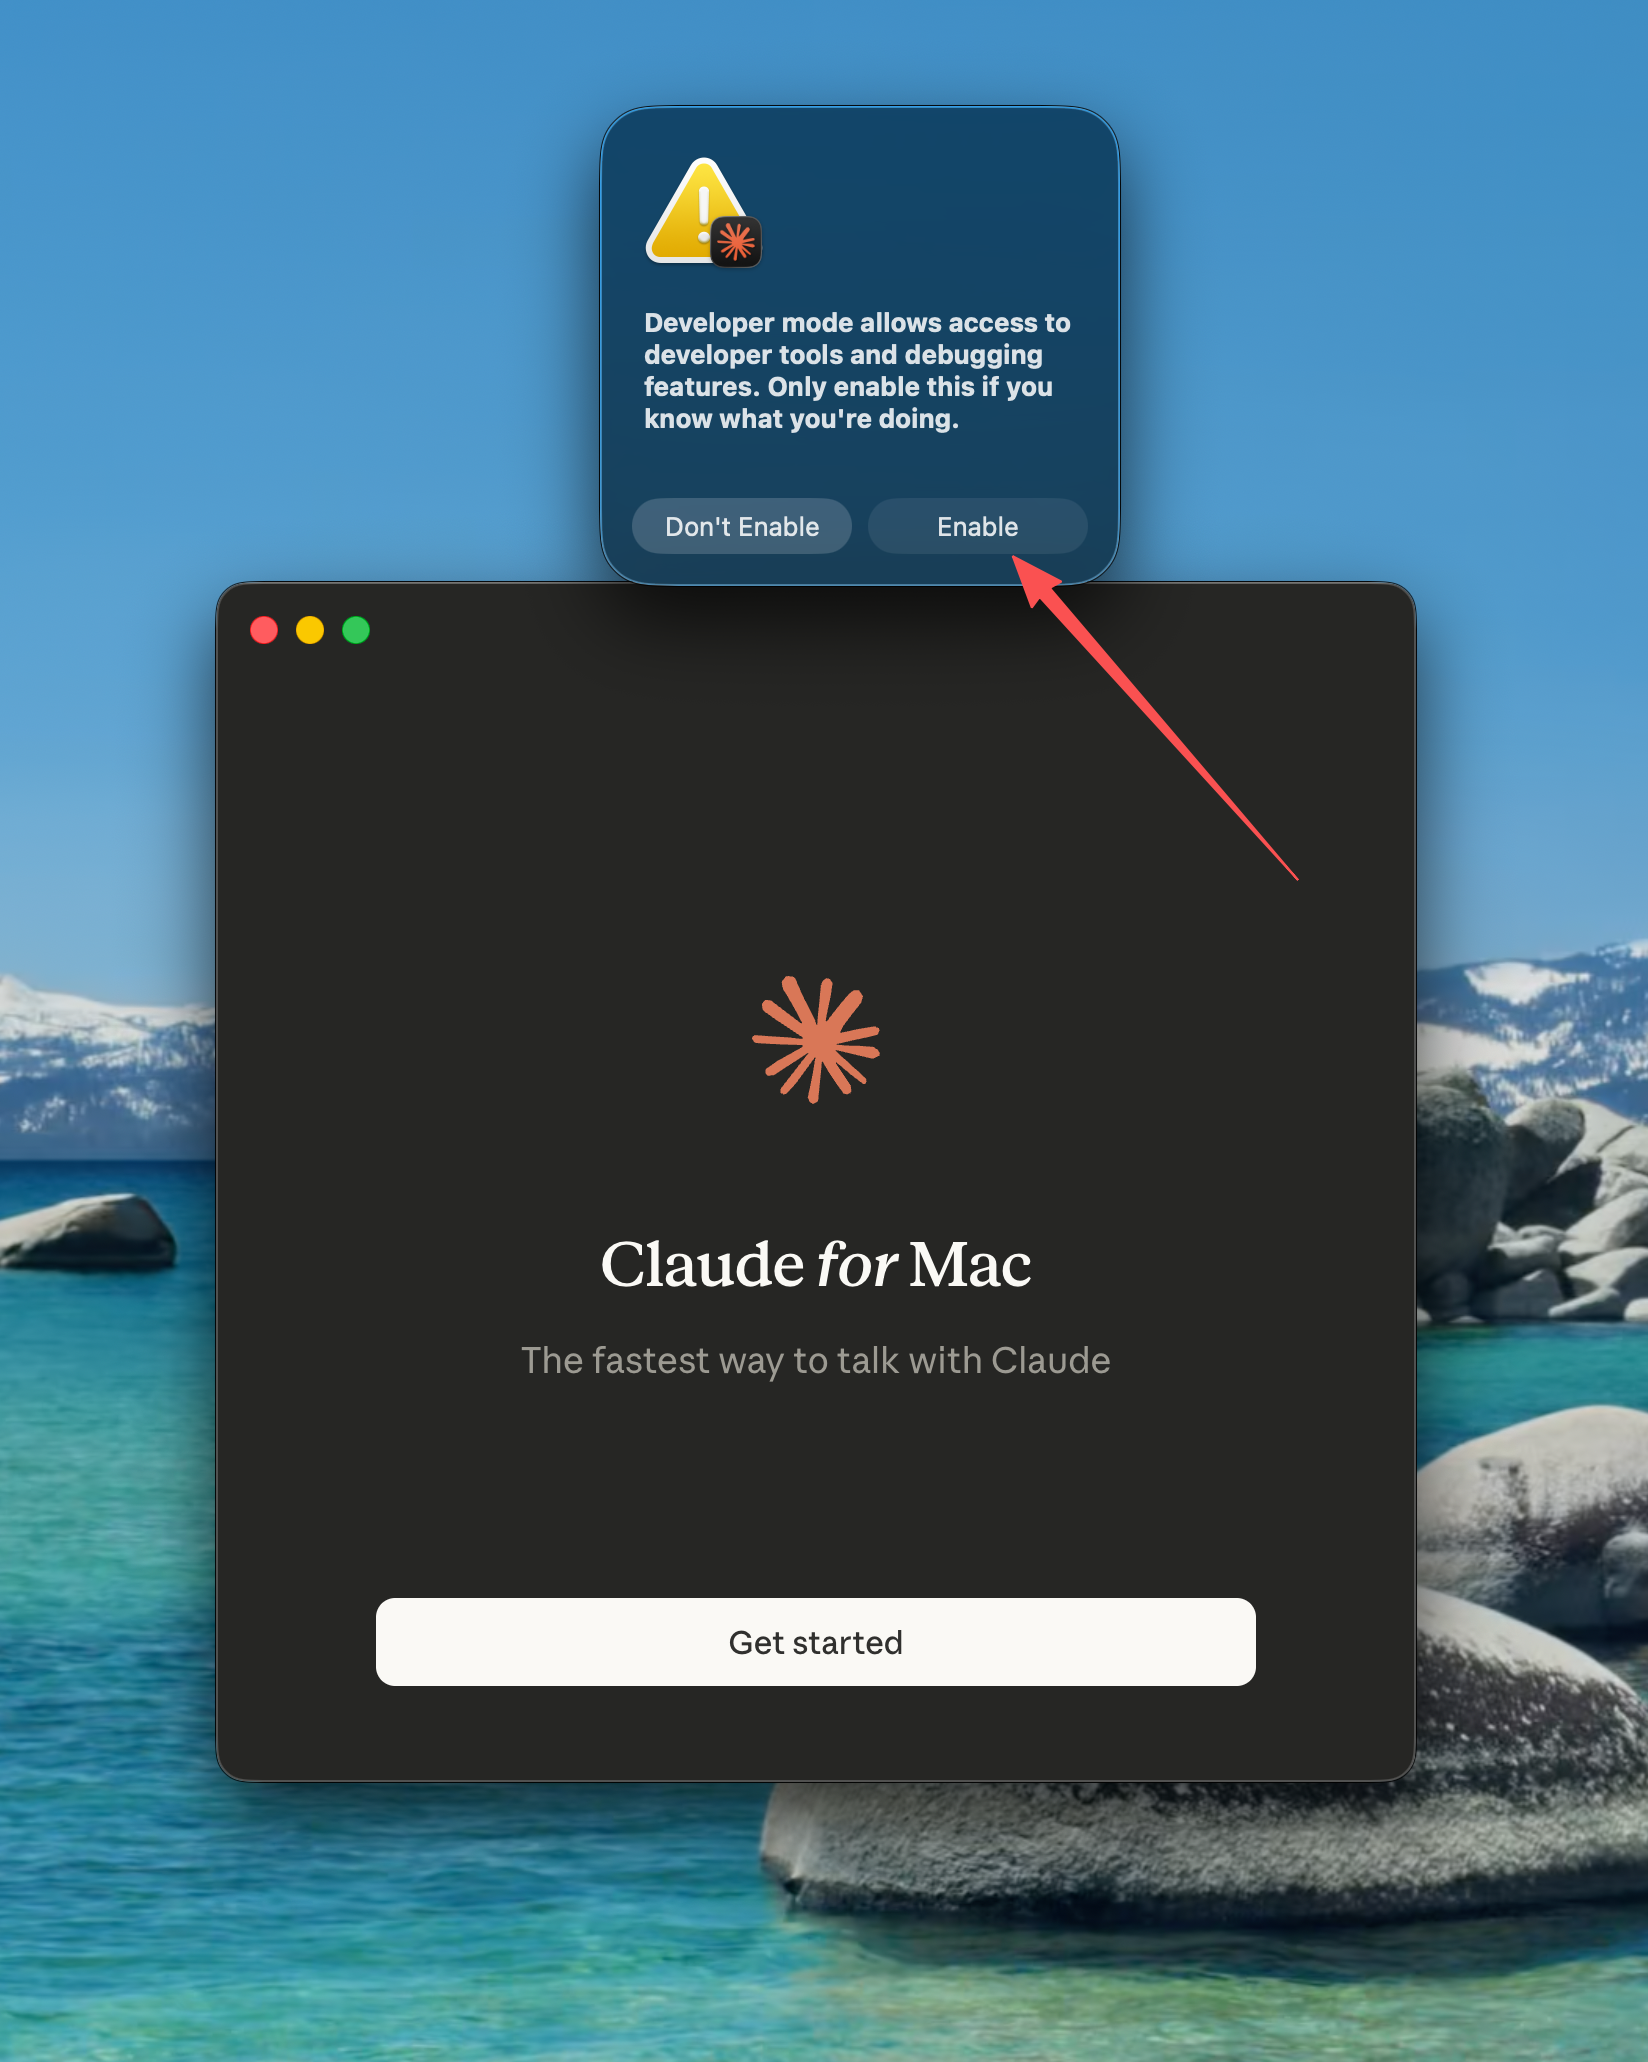
Click Enable in the confirmation dialog. Claude Desktop restarts automatically.
Configure a third-party Provider
After the restart you'll land on the welcome screen — don't sign in yet. With Claude Desktop in focus, a Developer menu appears in the top menu bar.
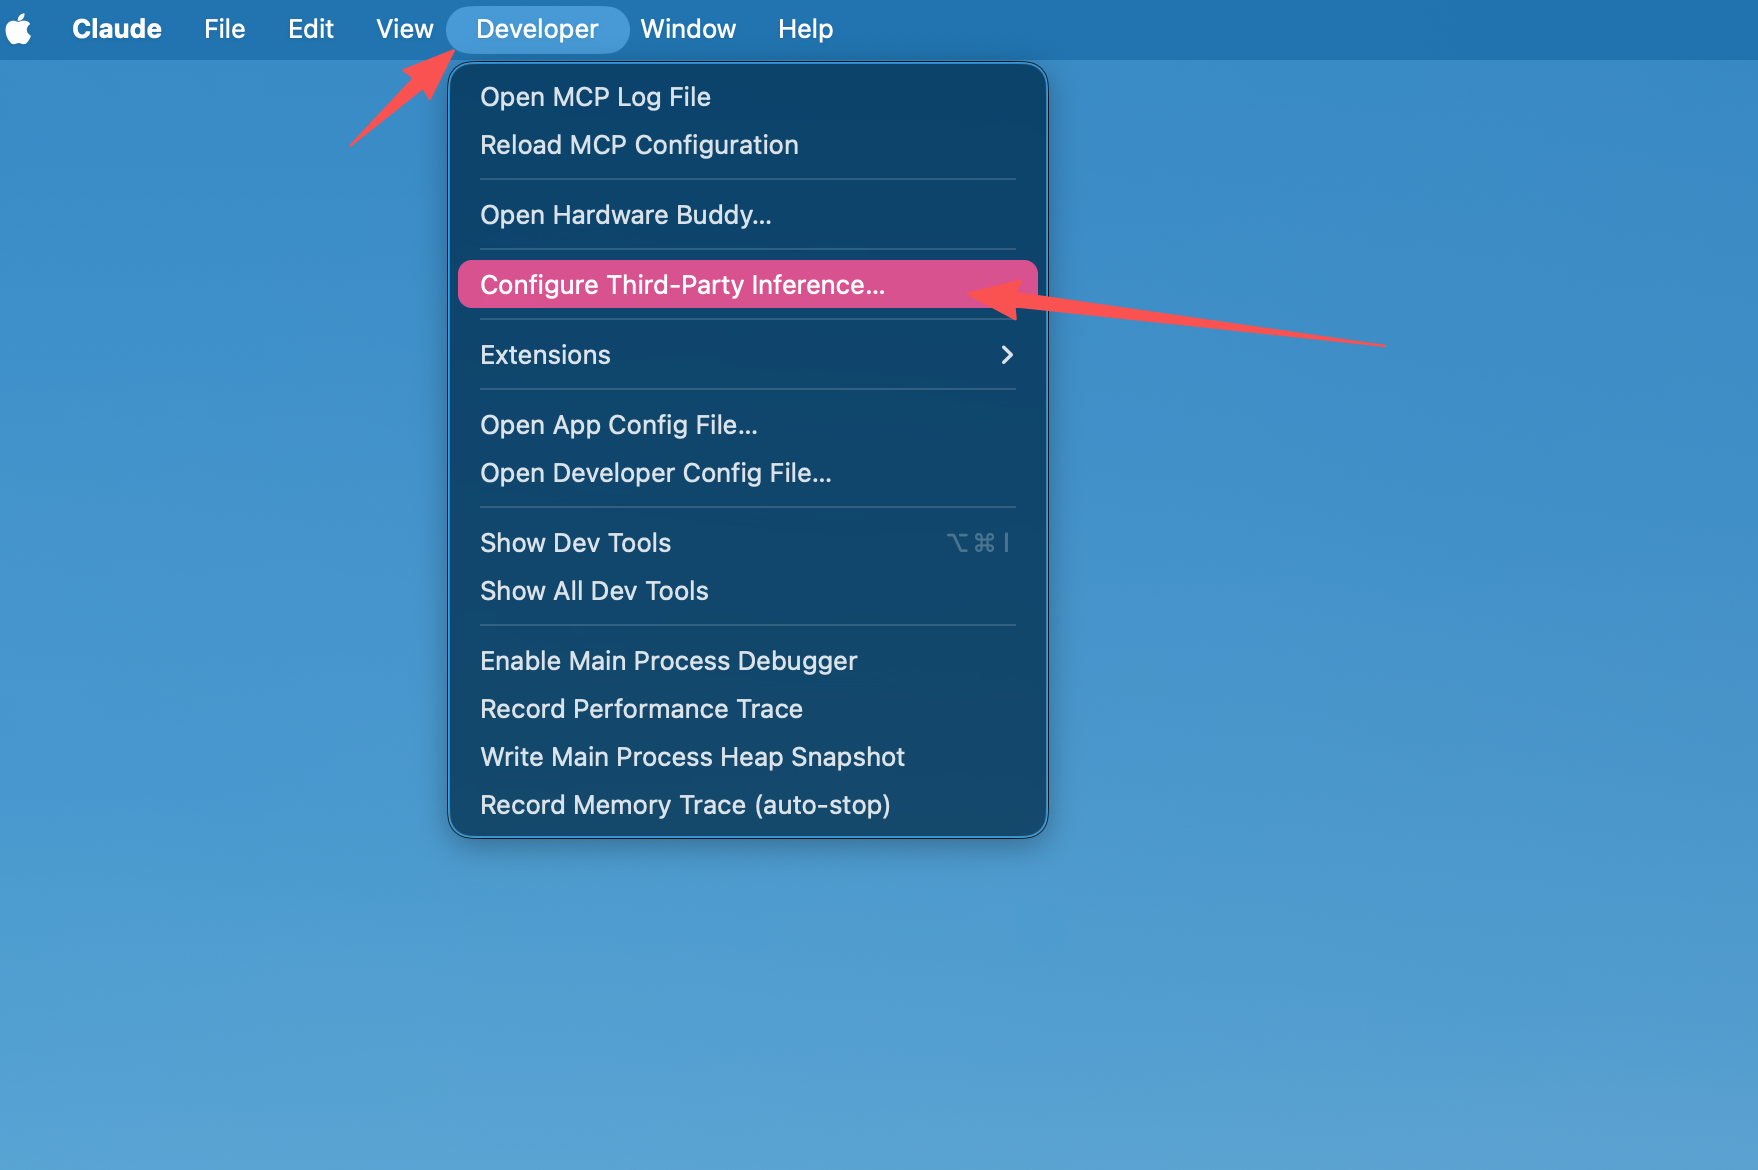
Click Developer → Configure Provider to open the configuration panel.
Enter the yylx.io gateway details.
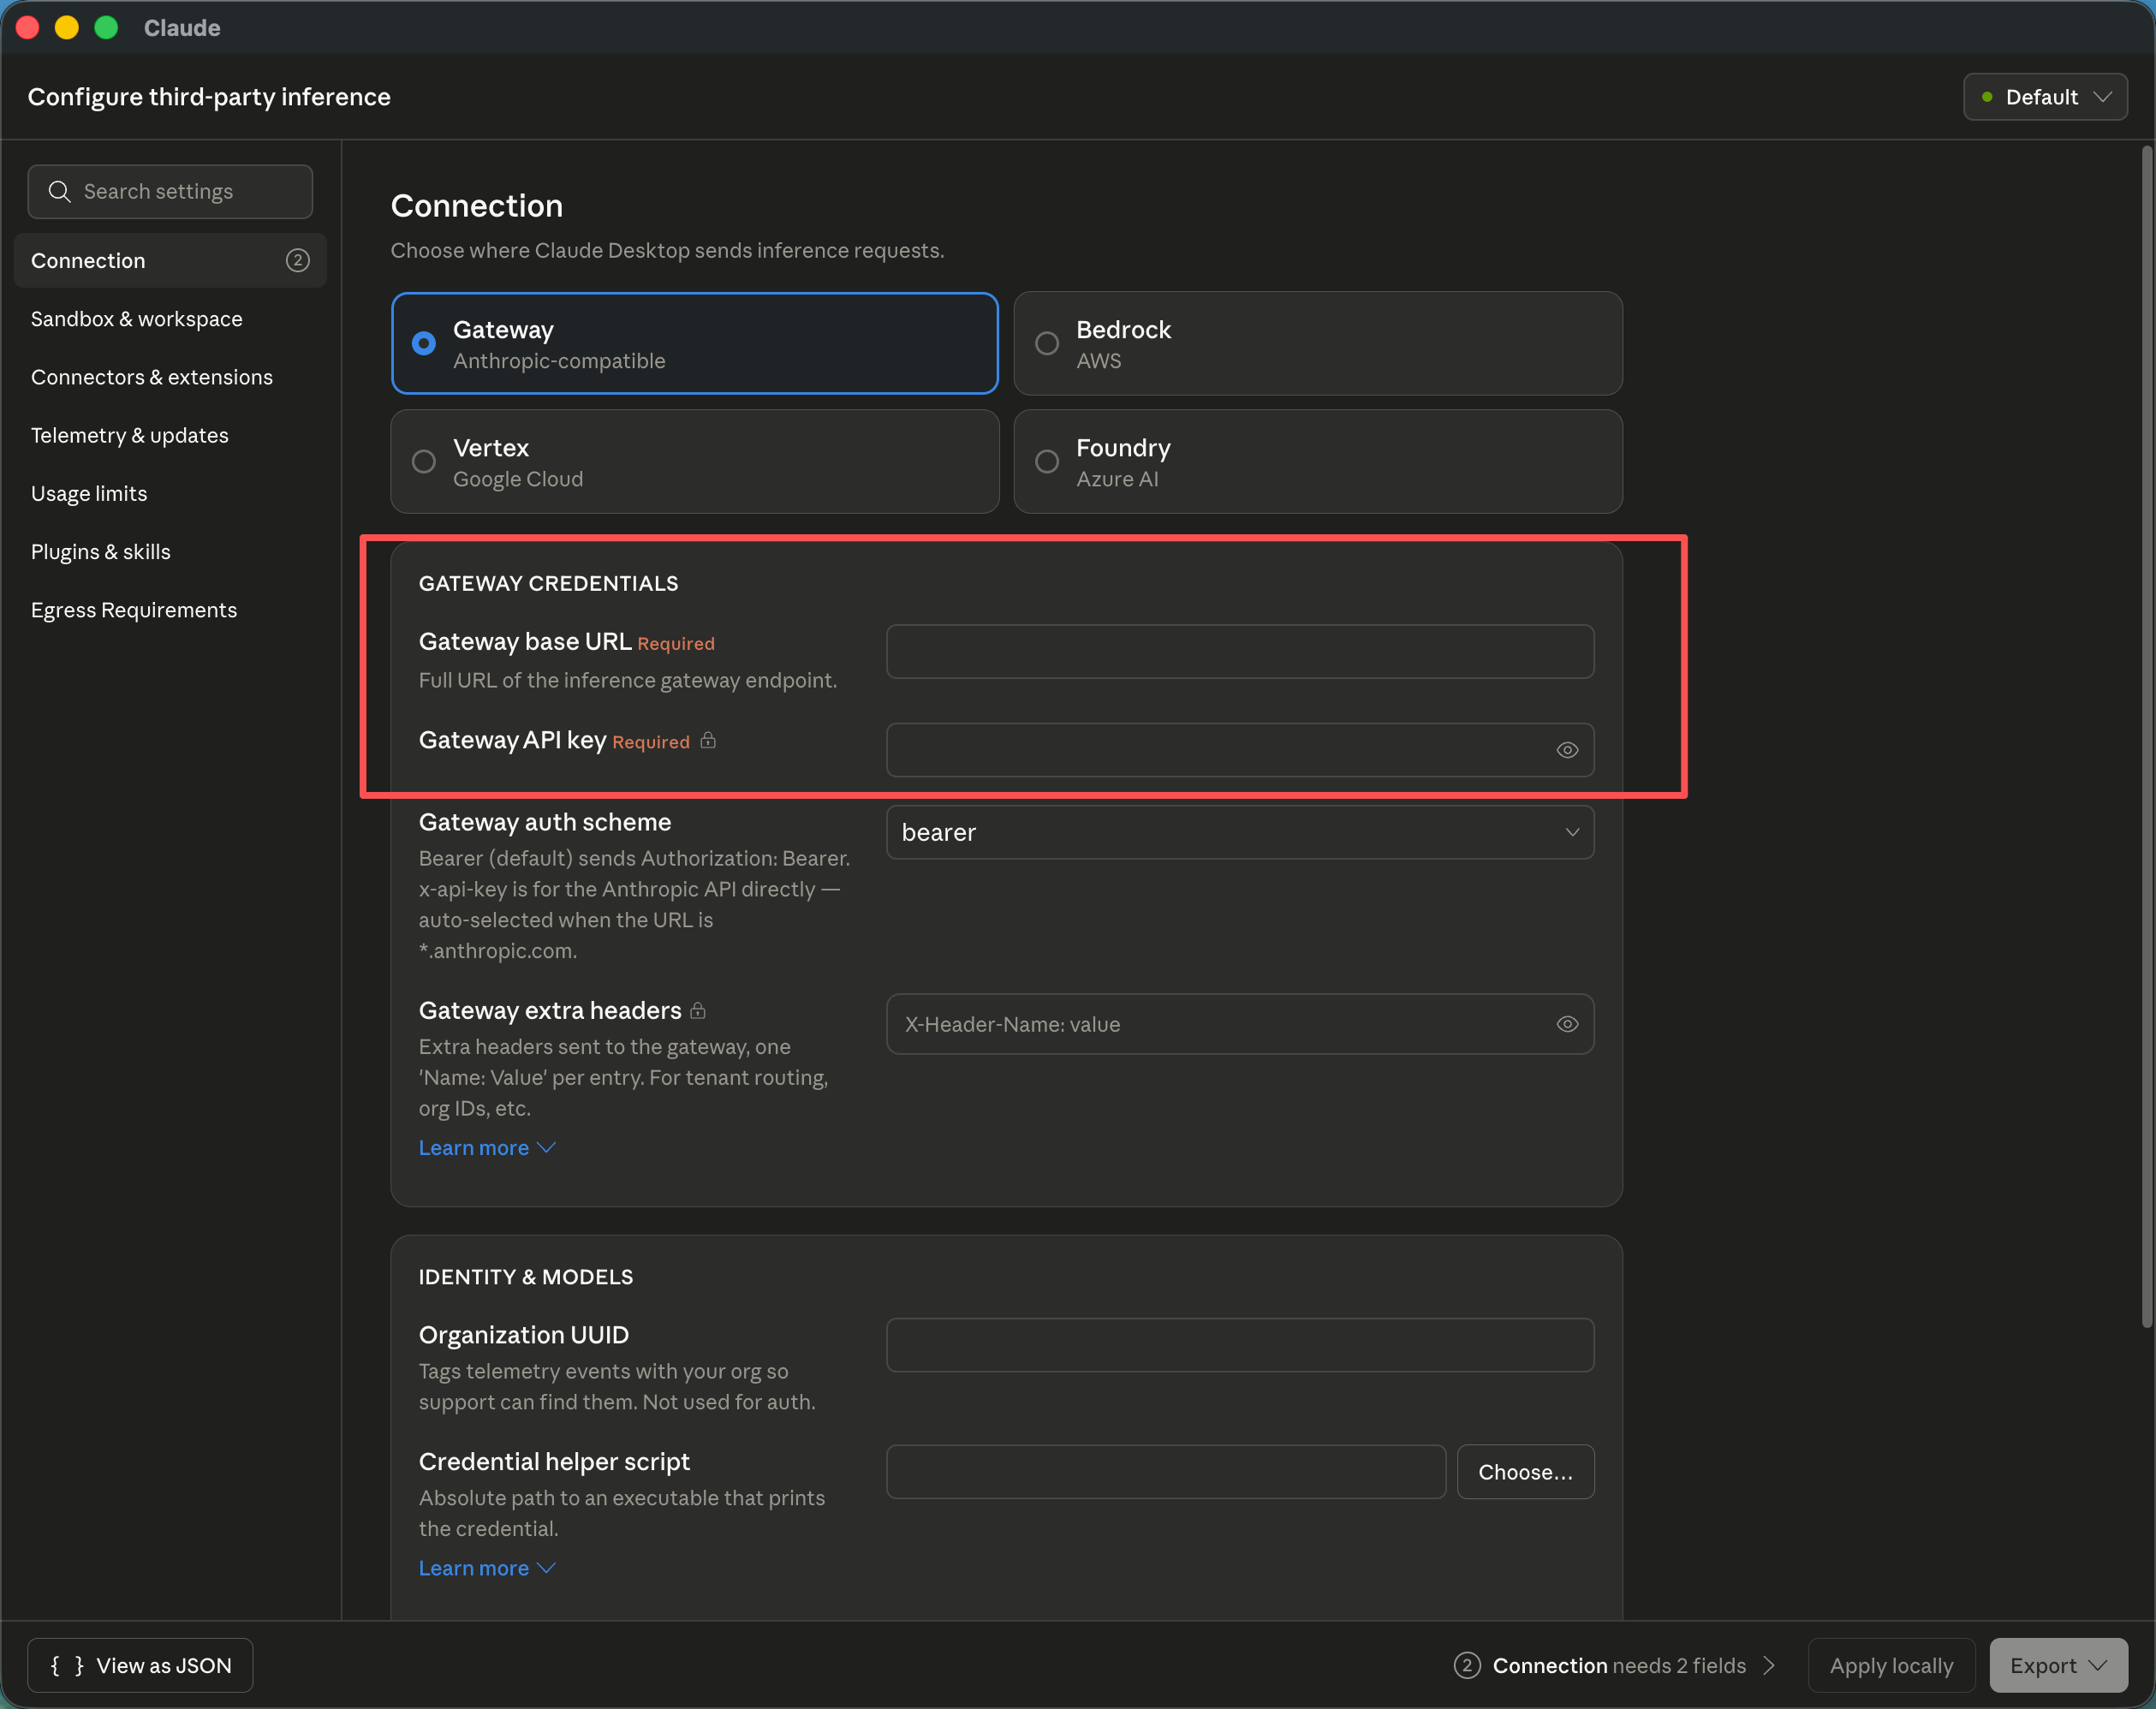
| Field | Value |
|---|---|
| Gateway base URL | https://app.yylx.io |
| Gateway API key | An API Key created in the yylx.io console |
- Click Apply locally in the bottom-right corner.
Choose Relaunch now in the confirmation dialog to restart the app.
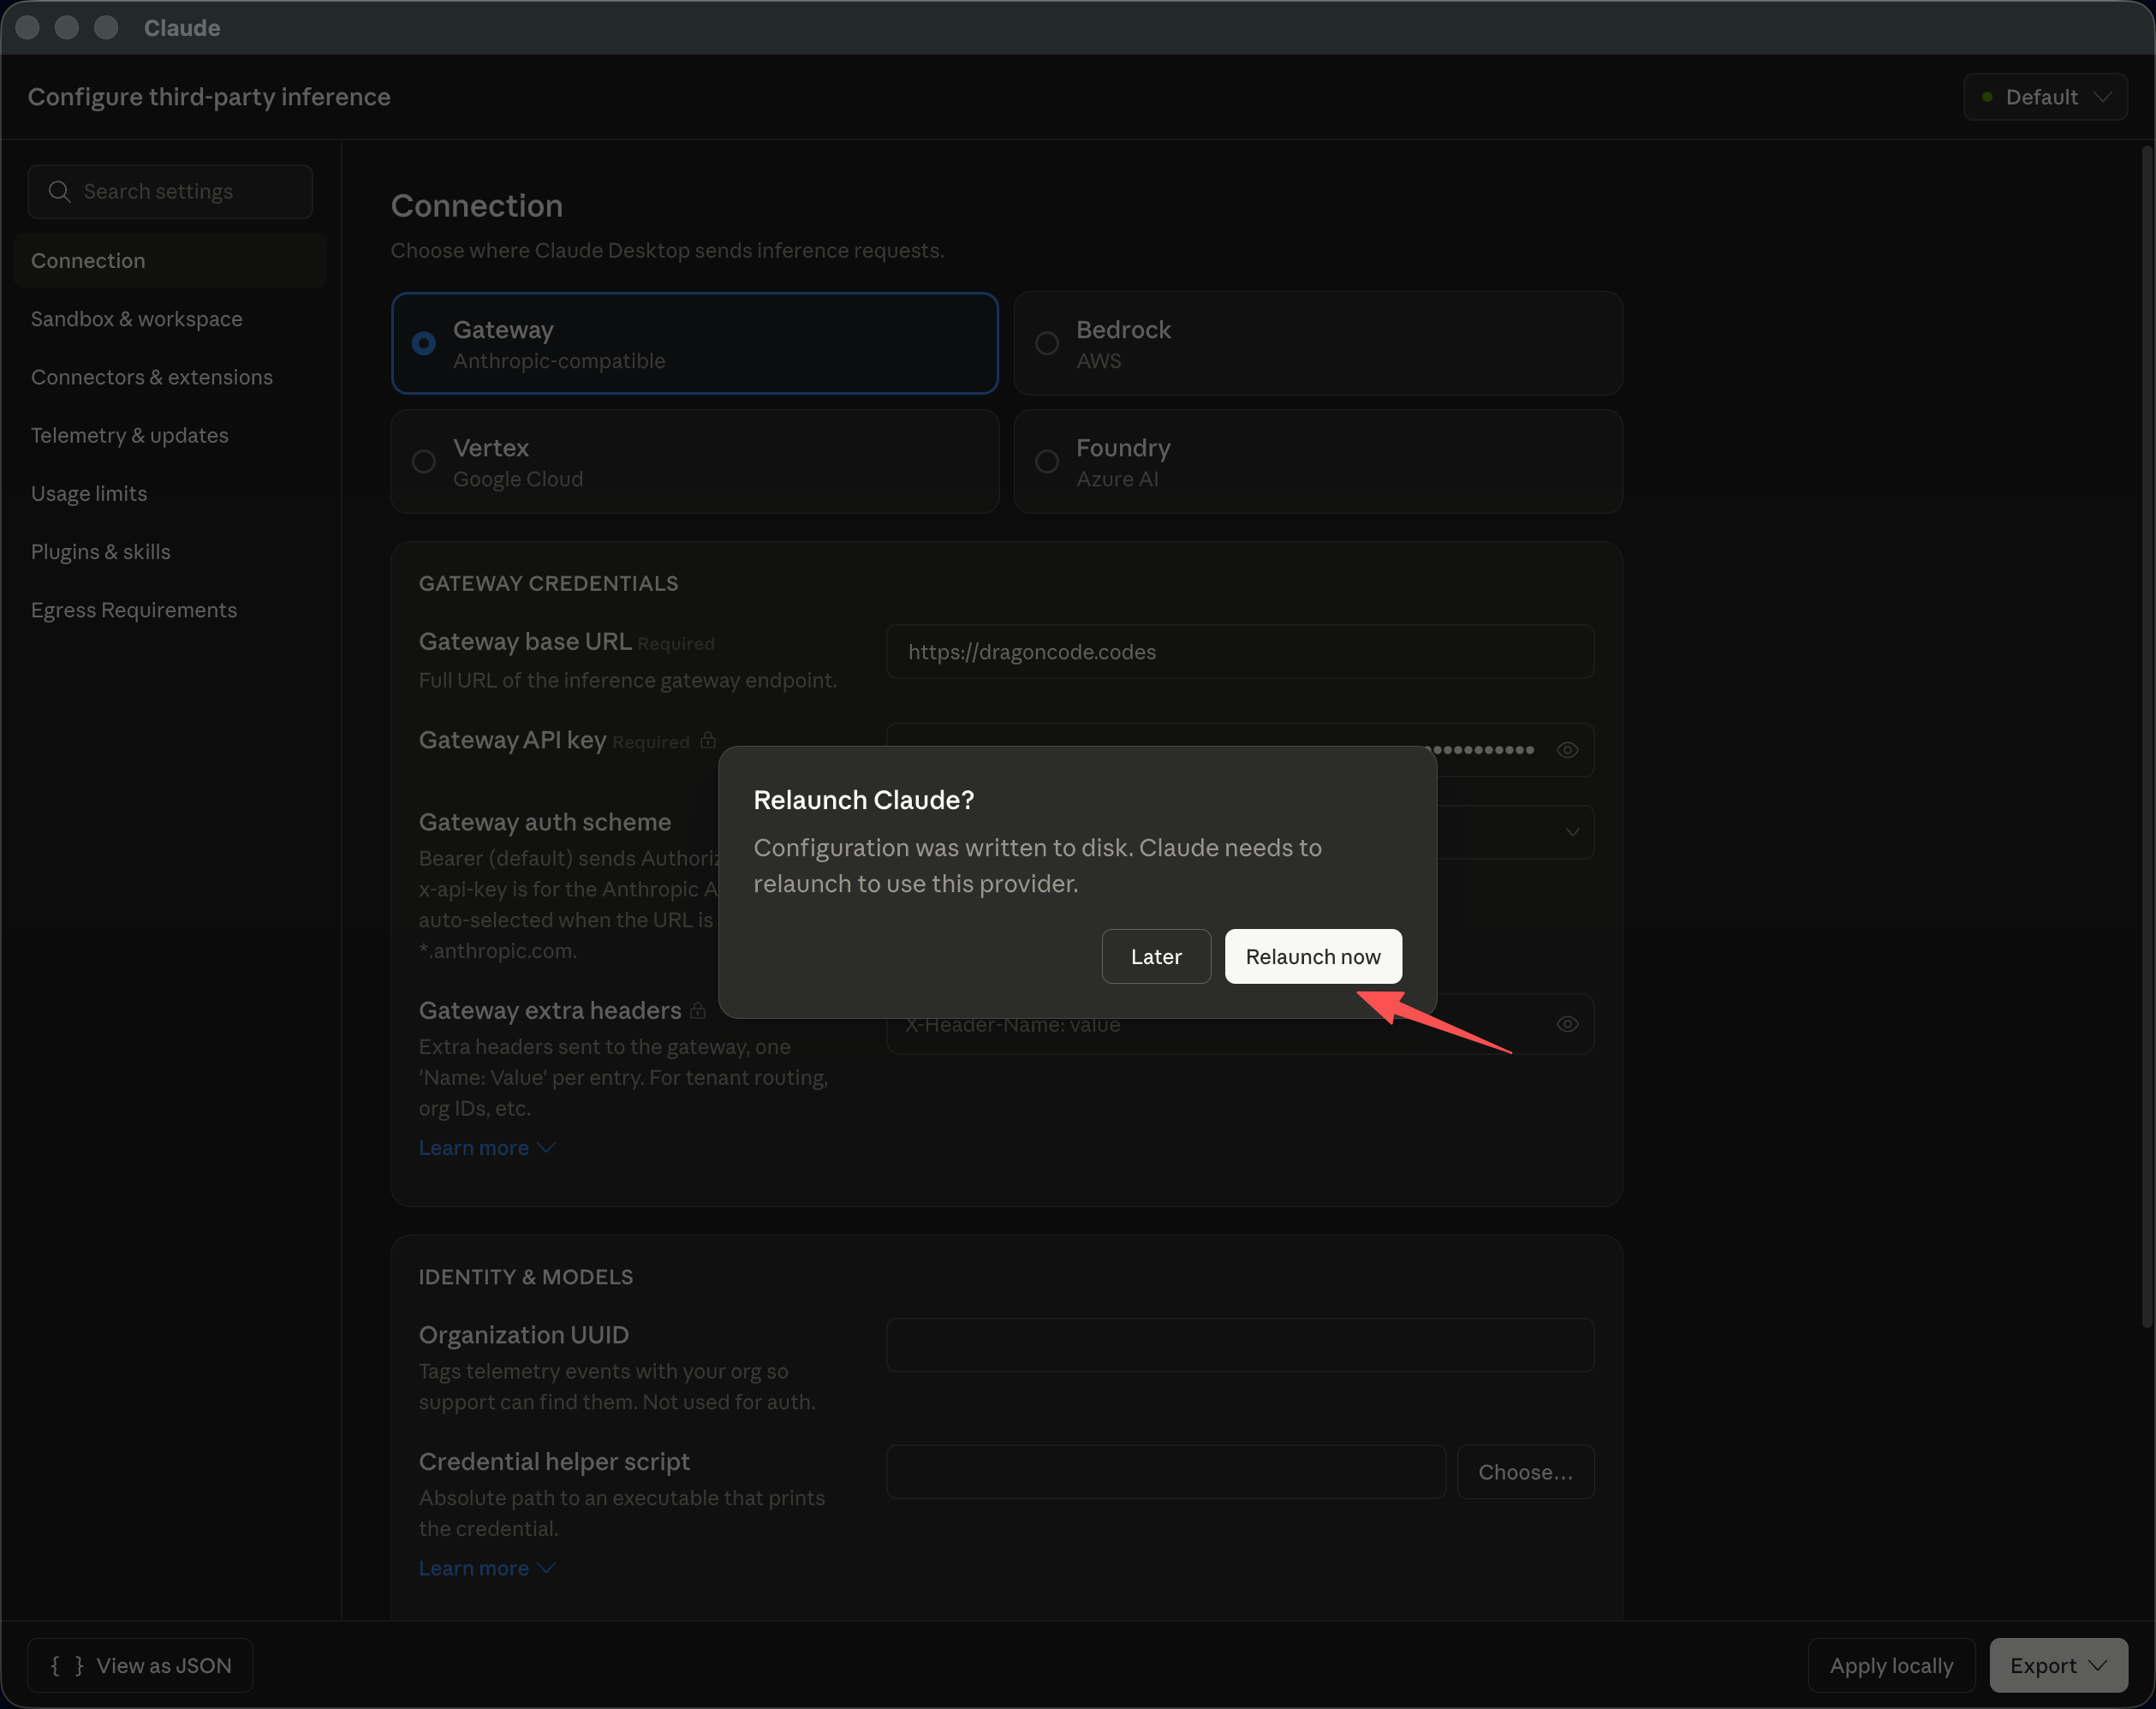
After the restart, click Continue with gateway to enter the Claude Desktop main screen.
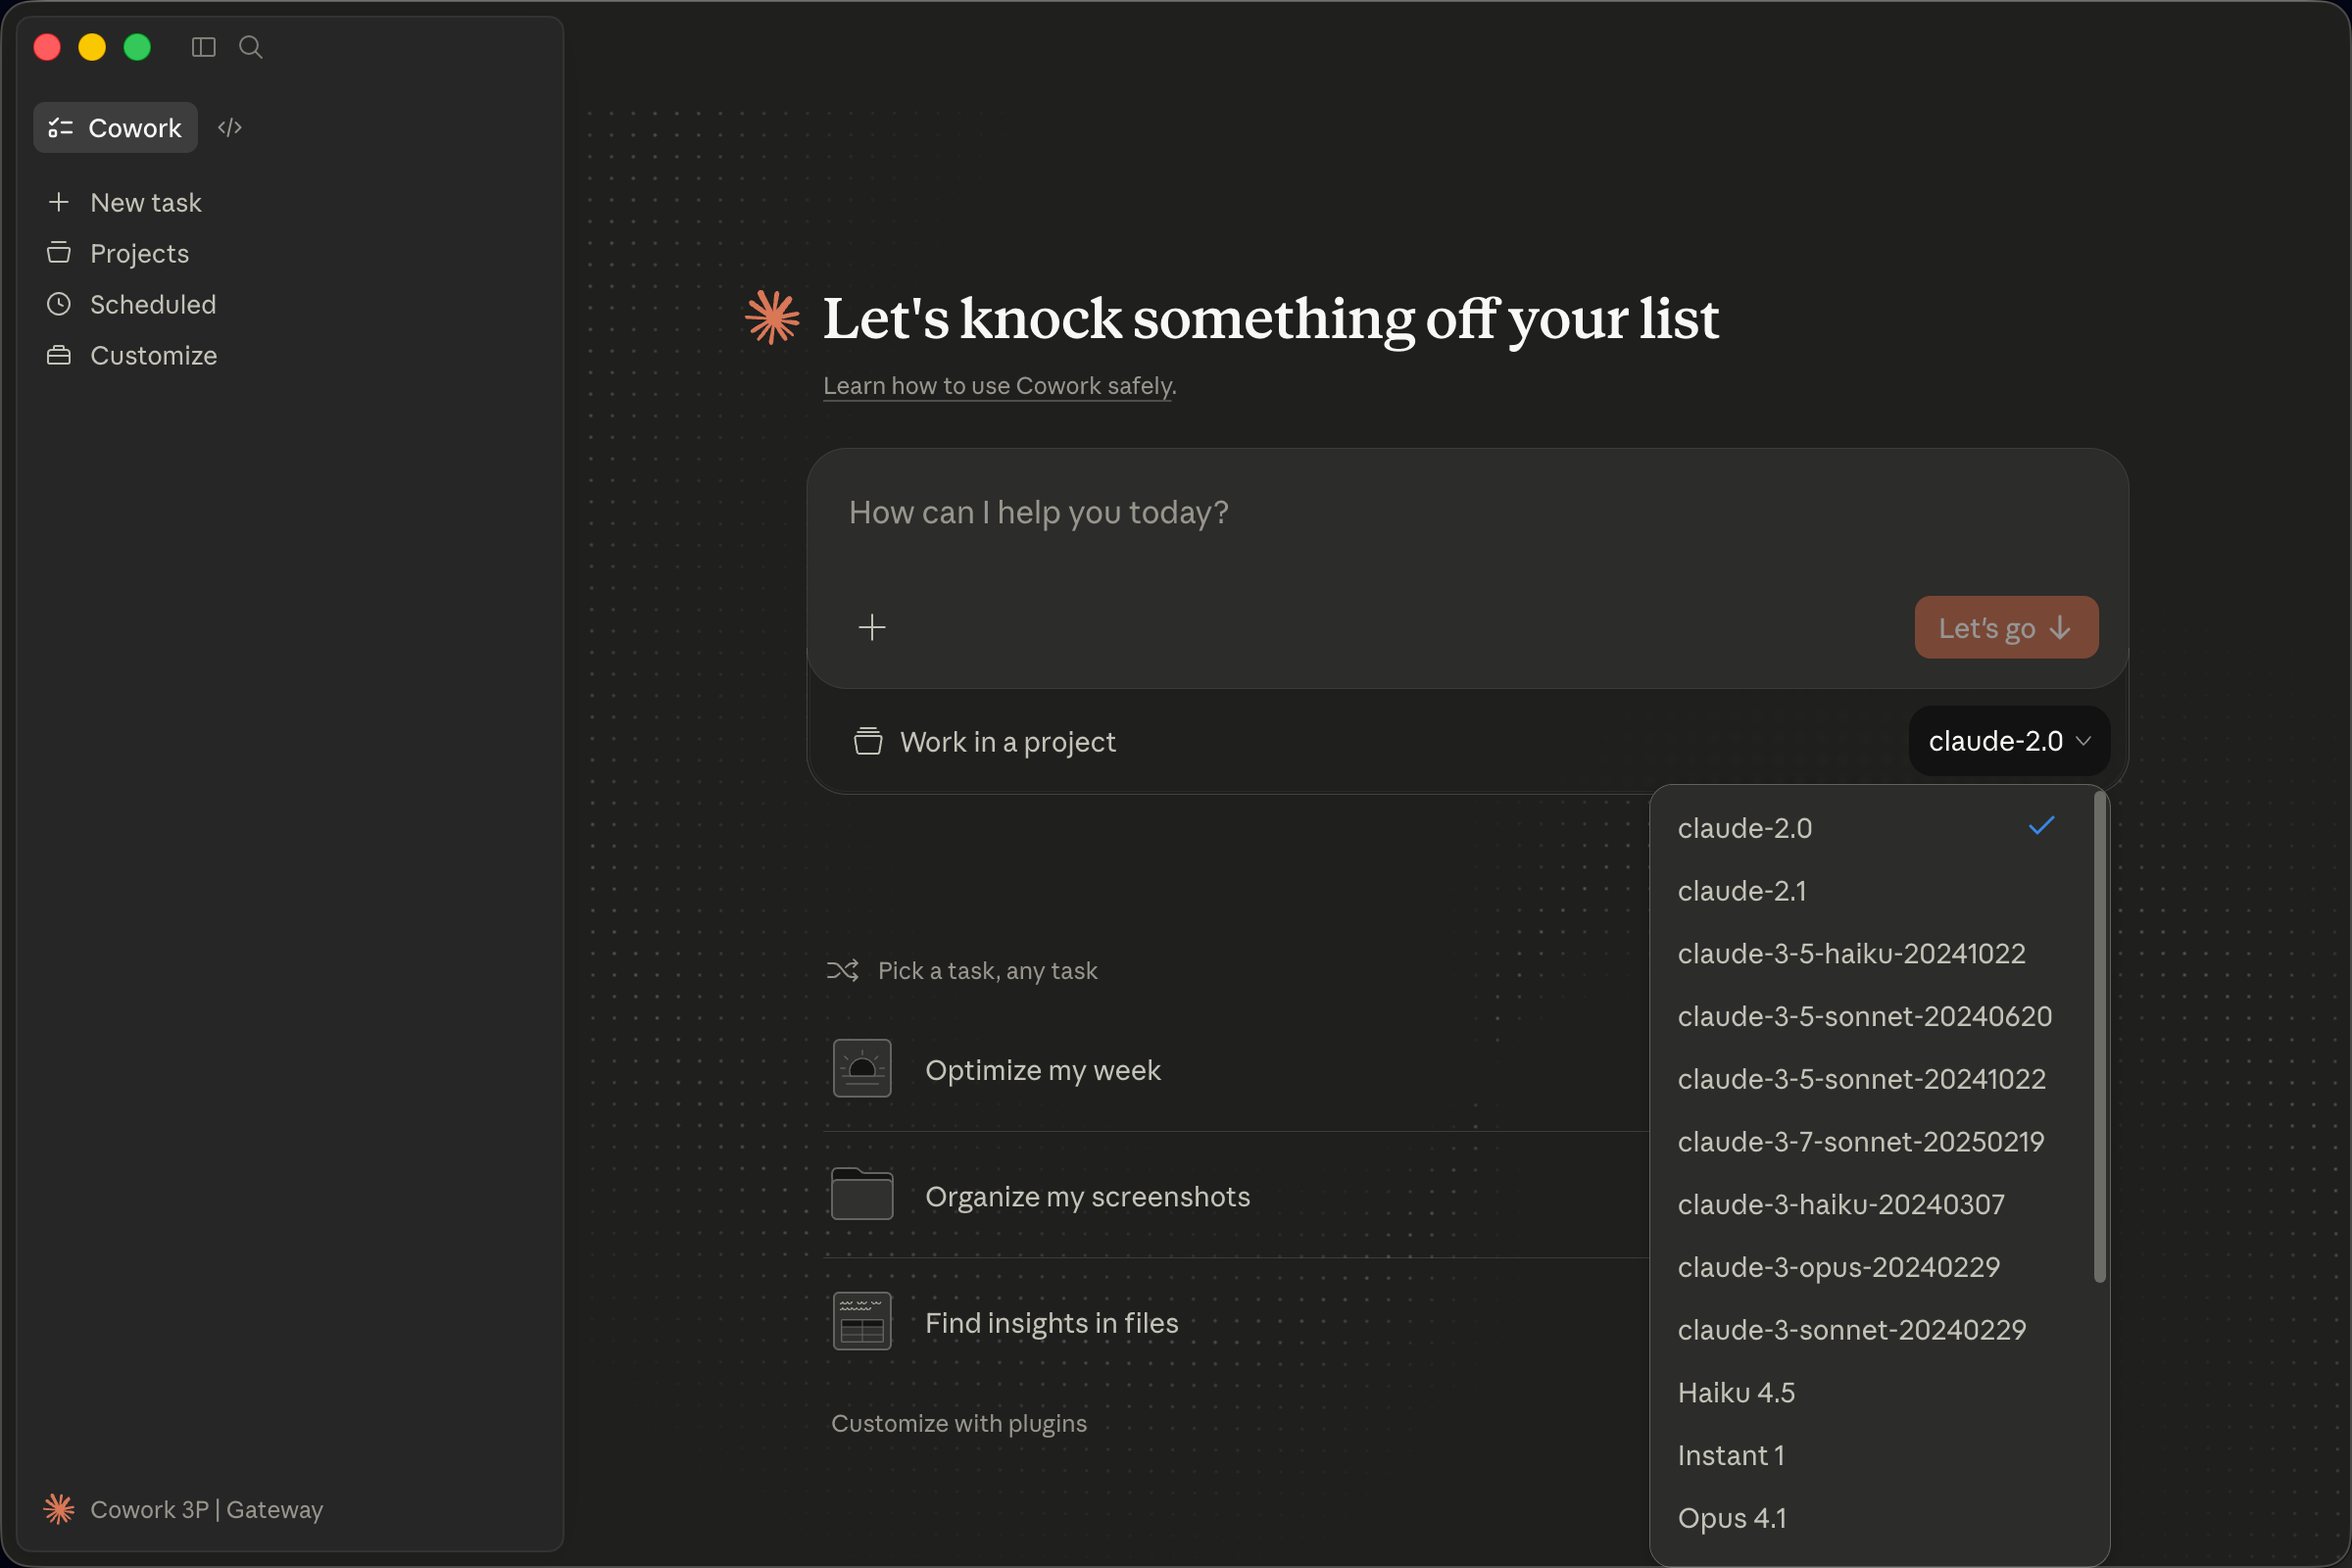
Interface overview
Once on the main screen, you can switch views with these shortcuts:
| Shortcut | Function |
|---|---|
Command + 1 |
Cowork view, the default |
Command + 2 |
Coding view |
Windows setup
Windows works much like macOS; the main difference is how you open the developer menu.
Enable Developer Mode
- Open Claude Desktop and go to the email input step of the welcome screen.
- Press
Tabto move focus until the menu icon in the top-left corner is selected. Press
Enterto open the menu.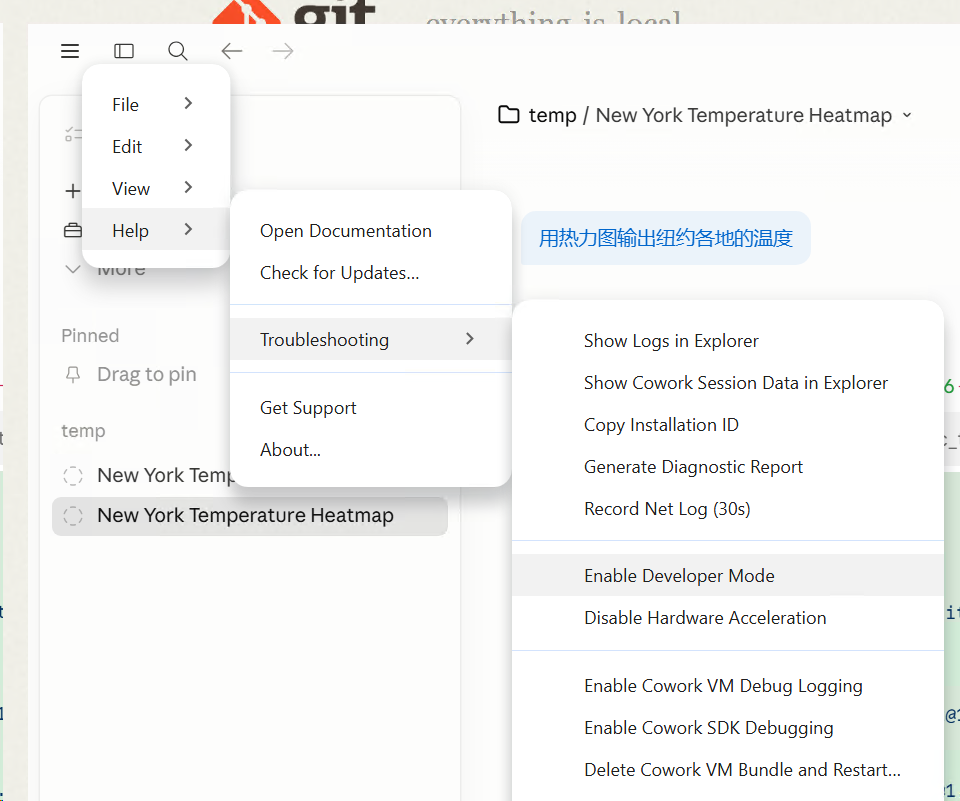
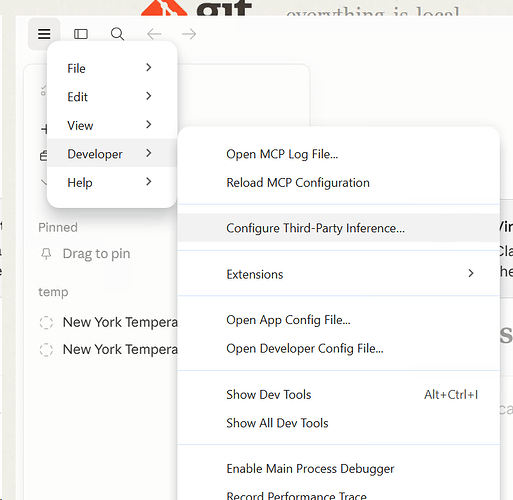
Choose Developer → Configure third-party interface.
Configure the interface
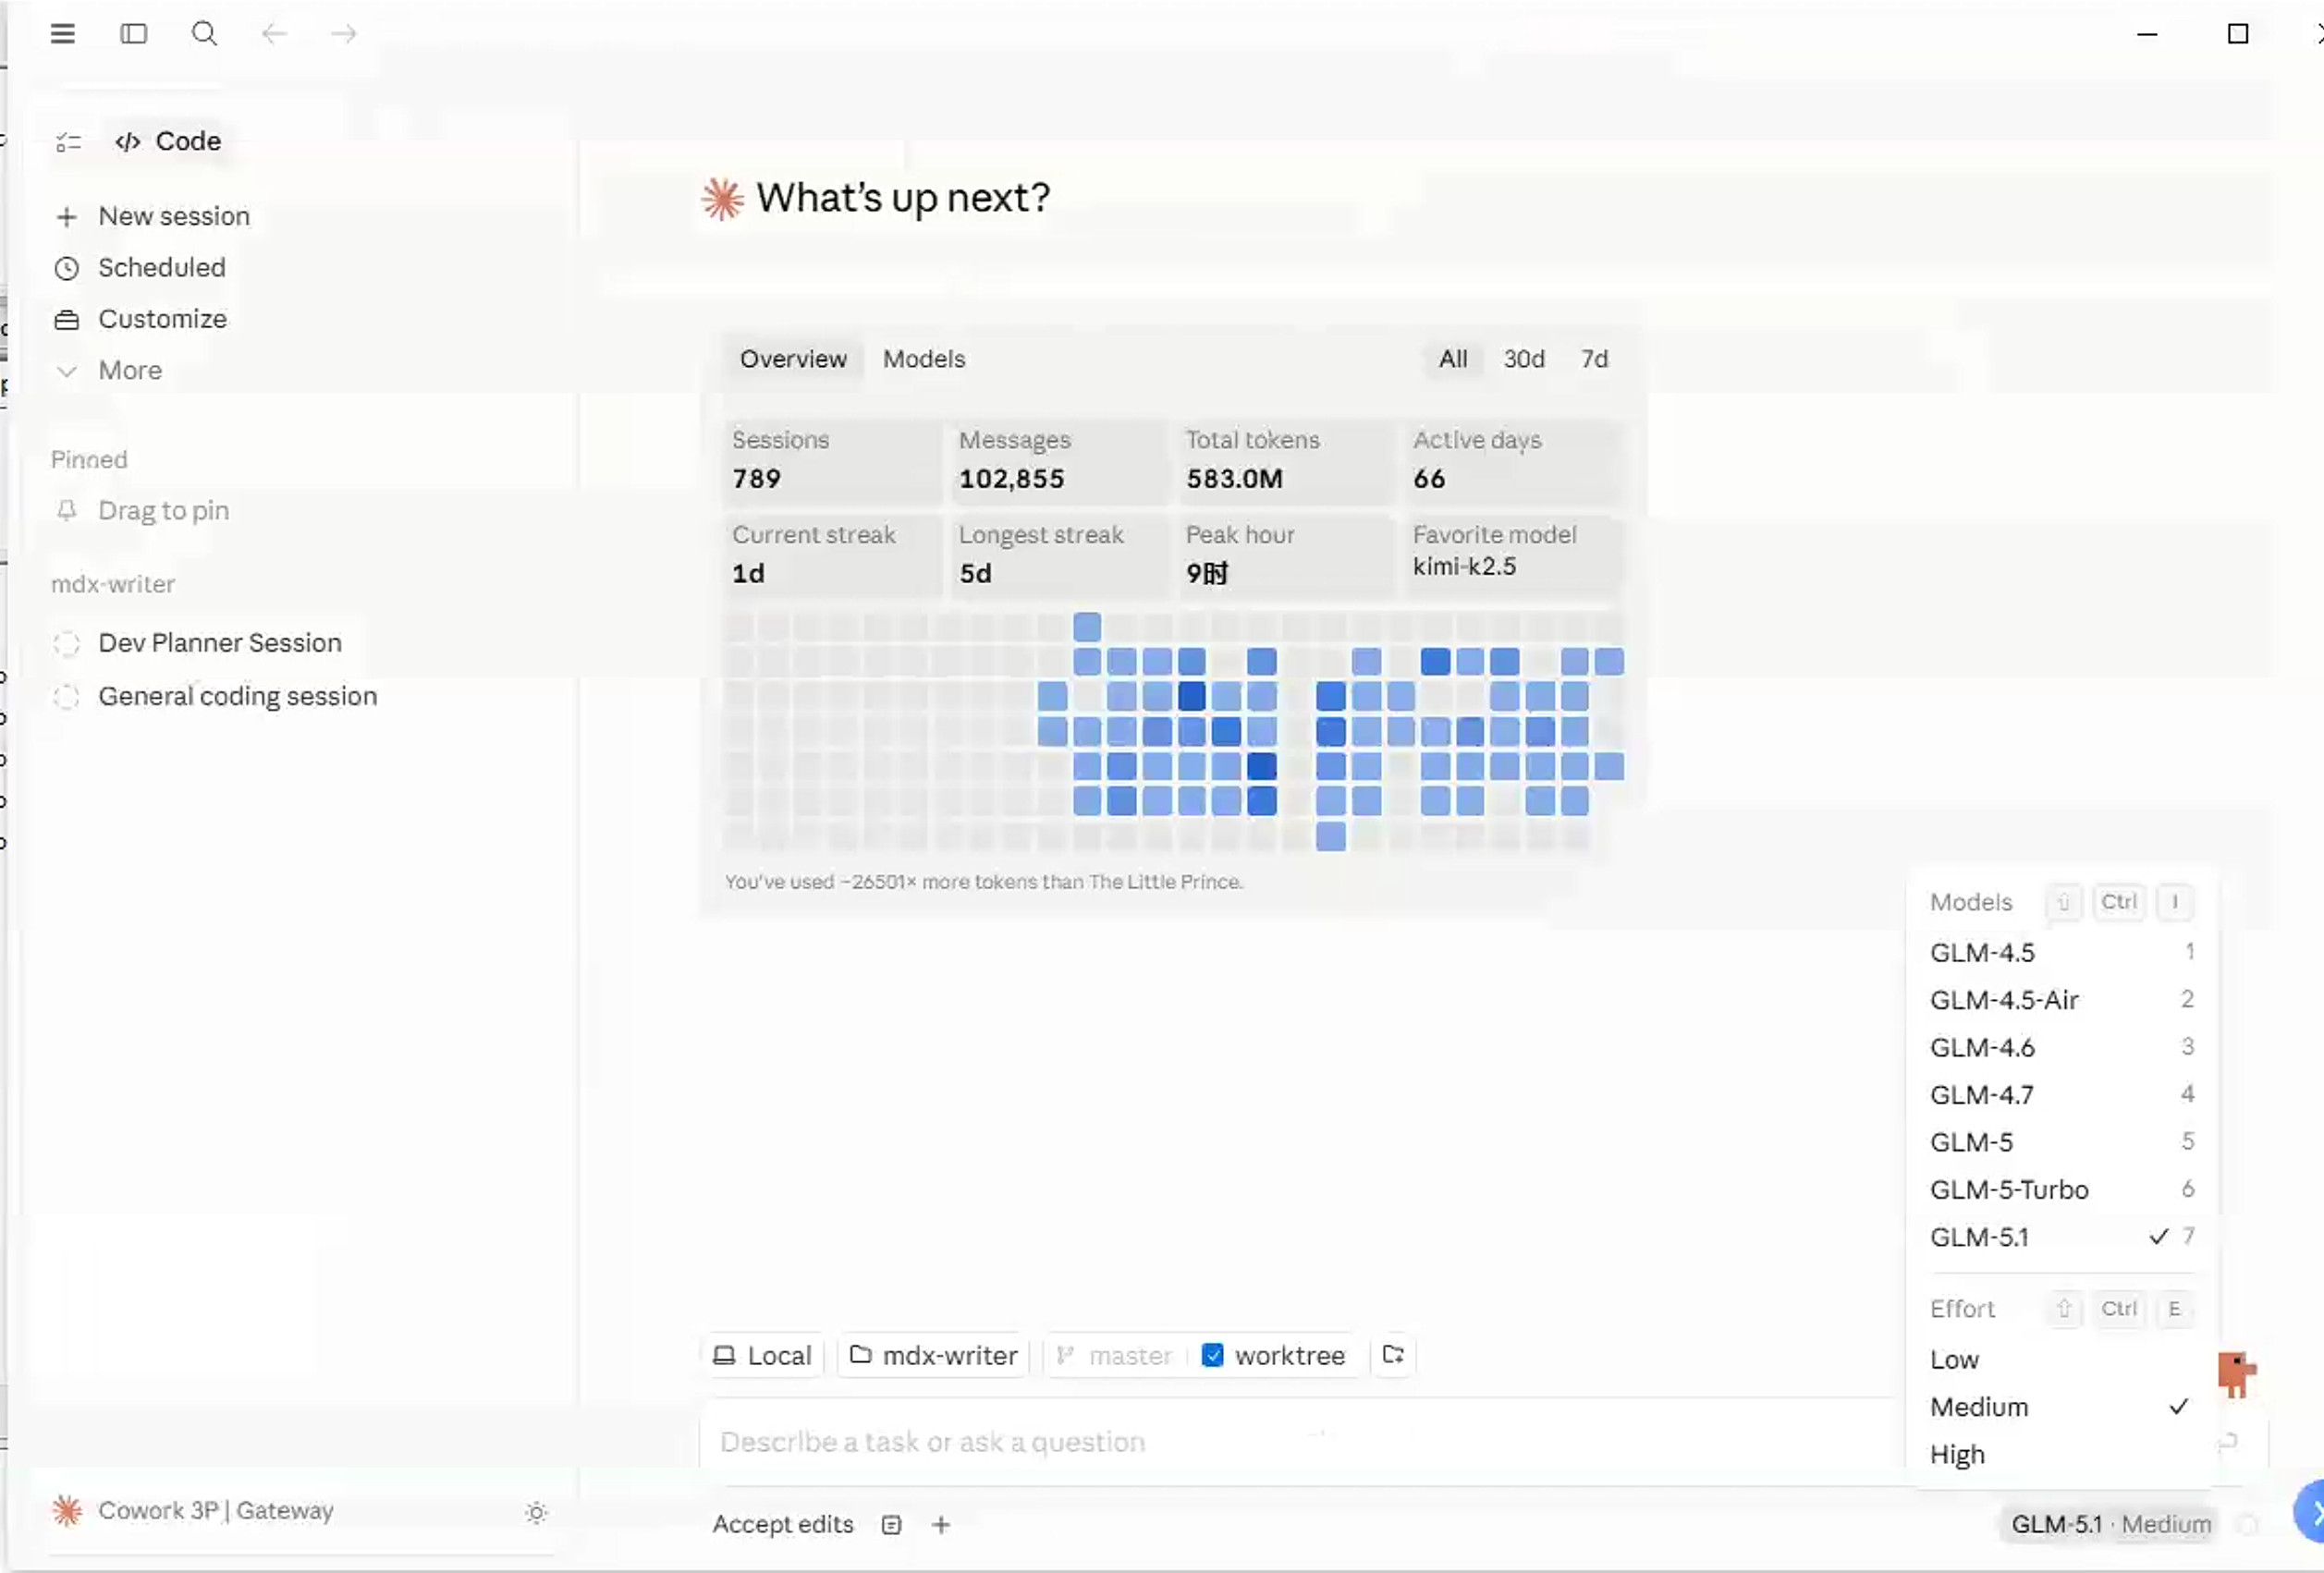
Enter the yylx.io Gateway address and API Key, click Apply locally, then restart as prompted.
| Field | Value |
|---|---|
| Gateway base URL | https://app.yylx.io |
| Gateway API key | An API Key created in the yylx.io console |
Troubleshooting
| Problem | Fix |
|---|---|
| Can't connect after setup | Check that the Gateway URL starts with https:// and the API Key is complete and valid |
| Nothing changes after setup | Confirm you clicked Apply locally, then fully quit and reopen Claude Desktop |
| Authentication error | Copy the API Key again from the yylx.io console and check for stray spaces |
| Requests don't show up in the usage log | Confirm Claude Desktop is using the yylx.io Gateway, not the official sign-in or another provider |